You probably have hundreds of photographs of your dog. The one that makes you laugh hardest may not be the one that shows the artist where the white patch ends or which ear folds over.
A useful reference photo does both jobs: it shows what your dog looks like and something of what makes them themselves. You do not need a professional portrait or special equipment. A few clear phone photos, taken in good light and sent with a short note, can give the artist much more to work with than one carefully staged but shadowy picture.
Start with the photos you already love
Before taking anything new, look through your favorites. Choose the picture that makes you say, that is exactly them. It might be the curious head tilt, the expression before a walk, or the way one ear lifts when they hear the refrigerator open.
Now inspect it more practically. Can you see the eyes, muzzle, and full ears? Is the face sharp? Does the coloring look like the dog sitting beside you? If something is missing, add a supporting photograph rather than abandoning the expression you love.
For a head portrait, the whole head matters. For a full-body illustration, include a clear view of the body and any distinctive markings too. Tell the artist which image supplies the expression and which ones explain the details.
Use soft daylight so the face stays clear
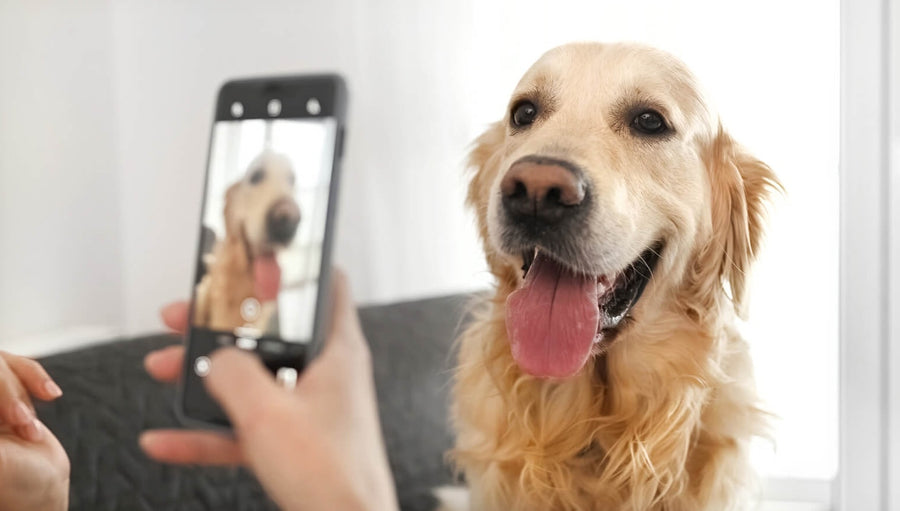
Try a spot near a window, outside in open shade, or outdoors on an overcast day. Soft daylight makes it easier to see the coloring and features without a hard shadow cutting across the face.
Look at the image on your phone before taking twenty more. Can you see both eyes? Does a dark muzzle still have visible detail? Has a pale coat lost its markings in a bright patch of sunlight? Moving a little to one side can make a bigger difference than changing camera settings.
Keep the main light in front of your dog or off to the side. A bright window directly behind them can leave you with a lovely outline and very little information about the face.
Bring the camera down to eye level
Crouch, kneel, or sit so the camera is near your dog's eyes. This gives the artist a useful view of the proportions: how the muzzle sits below the eyes, where the ears begin, and the shape of the head.
A photograph taken from standing height can exaggerate the forehead or make the muzzle look shorter. That angle may be charming, and it can be the right choice if you specifically want that expression. Include an eye-level view as well so the artist can understand what the camera angle has changed.
A familiar spot and a few short attempts are enough. You are collecting useful references, so keep the session relaxed.

Fill enough of the frame without losing the ears
Move close enough for the face to be clear, leaving room around the ears and chin. A dog in the far corner of a group photograph gives the artist less usable detail than a closer view.
You do not need to crop the original tightly. Some background and body context is helpful, and the artist can decide how the portrait should fit the final design. What matters is that the features remain visible when you open the image and look closely.
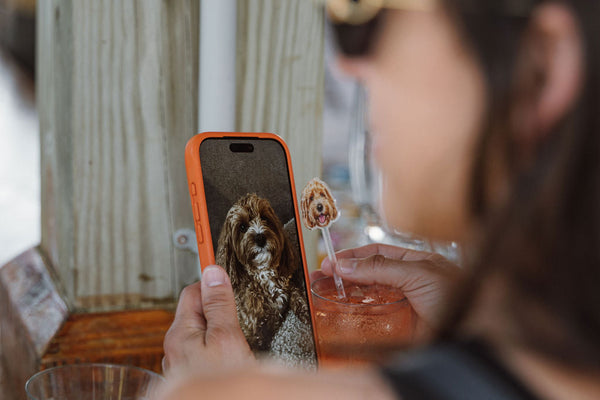
This is especially useful for small products such as illustrated drink stirrers. The finished drawing may be simple, but the artist still needs to understand which details are worth keeping.
Take a few angles, then choose a main reference
Try one photograph straight on, one with the head turned slightly, and one from the side. Some dogs have a distinctive profile; others look most familiar face-on, with the ears and eyes visible together.
Compare the results rather than sending every frame. Choose a main reference for the pose and expression, then add other views when they reveal something useful. A short label such as “for the ear shape” explains why a supporting image is there.

“I sent one photo for the white patch on his chest, one for his ears, and my favorite for the expression. Adding a sentence about why I'd picked each one was easier than trying to find a single photo that showed everything.”
Romy Bennett
Choose personality over a perfect sit
There is nothing wrong with a formal portrait. But if your dog rarely looks solemn and still, that may not be the expression you want on your wedding details.
Look for the relaxed mouth, the alert ears, or the hopeful look you recognize from ordinary days. Those details can make the illustration feel personal before anyone reads the name underneath it.
If your favorite expression appears in a photo with imperfect lighting, send it alongside a clearer reference. Explain what you want to preserve. A note about the feeling of the photograph gives the artist direction that a technically sharp image alone cannot provide.
Send original files and explain what is missing
- Check for motion blur. Inspect the eyes and muzzle. If the edges look smeared, take another photograph during a still moment.
- Skip filters that change the coloring. Send the original version when possible. A warm filter or heavy edit can make it harder to distinguish the actual coat color.
- Avoid screenshots when you have the original. The file from your phone usually gives the artist more information than a screenshot or a copy saved from social media.
- For a dog who has passed away, send what you have. Old prints, scans, and imperfect photographs may be the only references available. Ask the team whether the images are sufficient for the design. Other angles and your own notes can help explain a feature that one photograph leaves unclear.
Use the proof to check the likeness
When the artwork arrives, compare it with the references you selected. Look at the ear shape, muzzle, markings, eyes, and overall expression. Send feedback together, including the parts that already feel right.
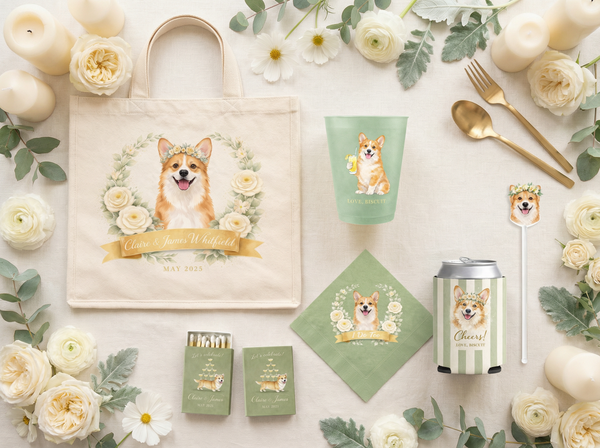
Then consider the product layout. A face that works on a napkin may need a different composition on a stirrer or tote. Each In Every Chapter product is individually illustrated by the same artist, so the artwork can suit the format while keeping a consistent character.
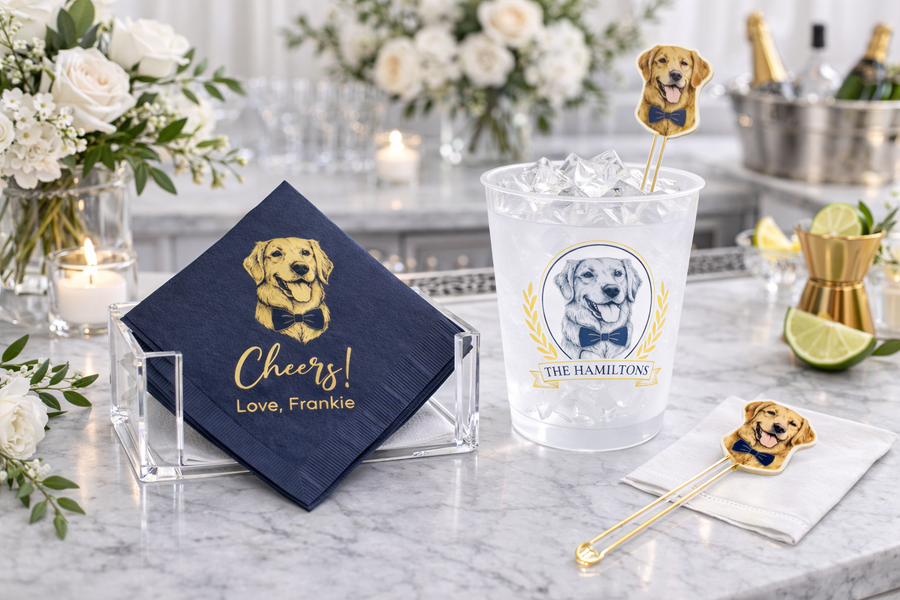
Read more about that design choice in our guide to illustration and photo printing on wedding details.
See how your favorite face translates
The $10 digital illustrated mockup shows your dog on a tote, cocktail napkin, and drink stirrer. One revision round is included, and the $10 is credited toward a package if you choose to order one.
Start with your favorite expression, add the clearest supporting references, and tell the artist which details make the face yours. A few thoughtful choices now give the illustration a much better starting point.